
Eyam Moor - Peak District Walk
Monday 8th July 2024
Prior to the weekend the end of this week was looking good and I'd planned on walking then, but as the weekend progressed the high that was moving in moved away and so today was the only dry day of the week when I was free. A hastily planned route saw me heading to Sir William Hill to extend an old favourite to add in some extra miles to help me prepare for the Nine Edges Challenge in September.
Start: Sir William Hill Road (SK 2250 7802)
Route: Sir William Hill Road - Eyam Moor - Hazelford - Highlow Wood - Highlow Hall - Dunge Wood - Offerton Hall - Offerton Edge - Smelting Hill - Abney - Abney Clough - Stoke Ford - Eyam Moor - Sir William Hill Road
Distance: 7 miles Ascent: 439 metres Time Taken: 4 hrs 5 mins
Terrain: Clear paths
Weather: Warm and dry, with a breeze
Pub Visited: None Ale Drunk: None

Looking across to Froggatt and Curbar Edge from my parking spot.

Stanage Edge is in view as soon as I set off across the moor. I can't help but think since signing up for the Nine Edges how long it is.

My favourite view as I cross this section of Eyam Moor is looking across to Higger Tor, Millstone Edge and Over Owler Tor as I approach the old gate posts.

Once passed the old gate posts I'm presented with a sea of ferns. I pause to admire the view, which now includes Bamford Edge, but after taking this shot it was eyes down to avoid being tripped up by the ferns and rocks on the path to the road.
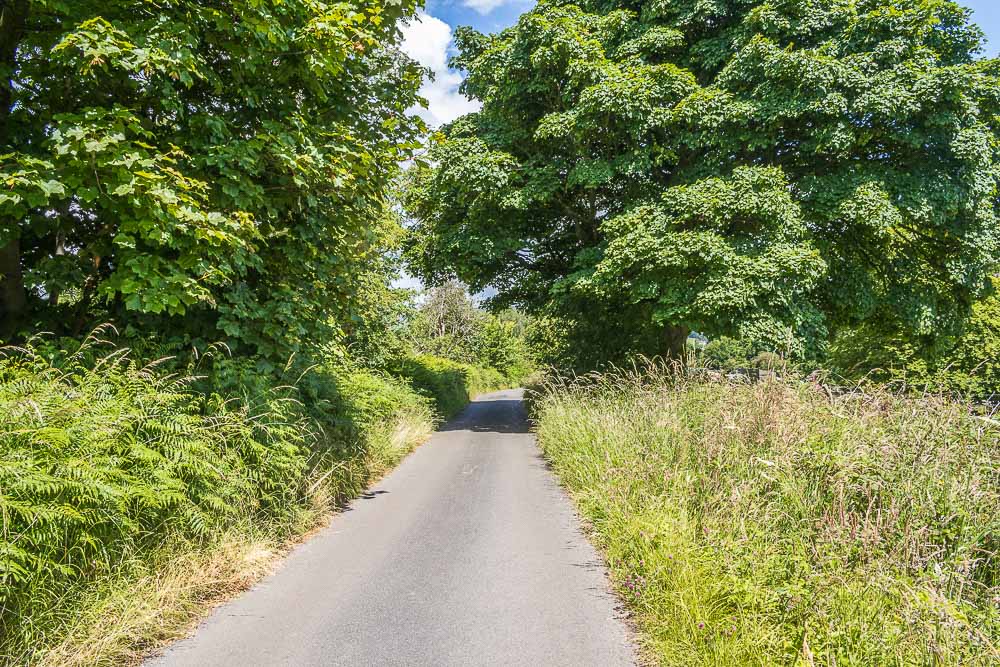
Heading down the lane to Hazelford I was really pleased I only met one well timed van as the verge was well and truly hidden under all the ferns and long grass.

As I reach the sharp bend in the road I can look up the Derwent Valley to Win Hill.

Looking across Highlow Wood to High Low and Smelting Hill behind it, which is where I will be heading once I've finished descending to Highlow Brook.

Looking to Abney Low after I'd spent an age trying to open the gate into the field above Tor Farm. Being small I couldn't see that the gate was now padlocked so I had no option other than to use the new stile, whilst trying to avoid getting splinters from the rough edges of the posts.

About to enter Highlow Wood and wondering how muddy it will be in there. Before I got there I had my second fight of the day with a gate, it was going to be one of those days.

Highlow Wood whilst still quite squidgy in places was easily negotiated, although I was grateful there wasn't any barbed wire as being able to safely hold the wire fence helped with balancing across some of the trickier sections.

Heading out of the wood and up the hill to the gate by Highlow Hall I was accompanied by the sound of a lawnmower. When I passed Highlow Hall I could see someone pushing the lawnmower back and forth across the grass at Highlow Hall, which surprised me given the amount of grass there is to cut.

Looking across to Eyam Moor having had my third fight of the day with a gate. This time the gate fought back and I have the bruises on my arm to prove it.

Having climbed up to Highlow Hall I almost immediately begin to descend, although once I've reached Dunge Brook I'll be heading back up the hill and around the other side of Offerton Moor.

Looking across Dunge Wood to Hathersage and Stanage Edge.

Looking back to High Low, Millstone Edge and Over Owler Tor just before I reach the entrance to Callow Farm.

Looking across Offerton Hall to Win Hill.

Opposite Offerton Hall I take the stile and path which will take me up onto Offerton Moor, although it looks like I'm about to encounter some more ferns first.

Having fought my way through the ferns, which were over my head, I pause to look back to Millstone Edge.

My plan had been to have lunch when I reached the top of Offerton Edge but I realised that if I went right to the top I'd lose my view of Crookstone Knoll on the Kinder Plateau. I settled for lunch just below the summit and once I'd eaten reluctantly dragged myself away from the view along the Derwent Valley to Back Tor and Bleaklow.

The view the other way wasn't too shabby either, looking across Hathersage to Cowper Stone, Higger Tor and Millstone Edge.

Once I reached the top of the moor the view changed so that now I was looking across Offerton Moor and Smelting Hill.

Heading across the moor there were signs that the heather would soon be in flower.

I soon reached Siney Sitch where the last of the cotton grass is hanging on.

Having crossed Siney Sitch and passed through the gate I find the view has changed again and now I'm looking across Abney to Abney Moor.

Leaving the moor I follow a broad track down to the road with Abney Low ahead of me.

In the hamlet of Abney I take the signed path which will take me into and along Abney Clough. It clearly isn't used very often and involves me in fight number four with a gate. This time fun was had trying to open and close the gate whilst avoiding the tall nettles where I needed to get the rope that kept it shut.

Having spent the previous section of the path using my pole to knock brambles and nettles out of my way when I reached here I thought the path was about to improve.

This path doesn't have a lot going for it, no views, somewhat overgrown and the only way you know you are in a clough with a brook running through it is because you can hear, but not see, the water below you.

I was very happy to finally reach Stoke Ford, the path along Abney Clough is definitely on my only if you have to list.

The path onto Eyam Moor from Stoke Low is short and steep, but at this time of year it is also hot thanks to the ferns encroaching on the path.

Once I was clear of the ferns I could look back across Abney Clough to Abney Moor.

Looking along Bretton Clough, which I had decided against visiting today because I didn't fancy fighting all the ferns that would have been on my route through there.

Looking back across to Abney Moor before I take the stile onto Eyam Moor.

Once on Eyam Moor I had a choice of route, although it looks like whichever way I go it will involve more ferns.

Rather than take the path to the trig I take the path around the edge of Eyam Moor, as I think the views are much nicer this way.

Looking across Smelting Hill to Win Hill and Bamford Edge.

As I reach the highest point on the path I'm taking across the moor Mam Tor comes into view.

Crossing the moor the trees close to where my car is come into view.

Once Froggatt and Curbar Edge are clearly in view I know that I'm close to the gate and at least I don't have to fight this one.
All pictures copyright © Peak Walker 2006-2024